
How to Make a Folding Bench Apron
In this post, I outline how to construct your own bench apron to catch dust and shavings from your bench pin. Traditional jeweler’s benches have a half-moon cutout for the bench apron, but I have a straight, nonconventional workbench. If you are like me and have to make do with limited and/or irregular workspace, this may be of use to you!
I highly recommend reading through the entirety of this post and understanding the whole process before attempting to make your own apron. My workbench setup may or may not work for you, and you might need to adjust the installation based on your available space.
To start, you will need:
Two spring clips that hole 1” diameter pipe 2023 EDIT: these tend to work much better than the former spring clips
A drill for drilling pilot holes
Either a sewing machine or a needle and thick thread
Hover over the supply list to see links to my suggestions.
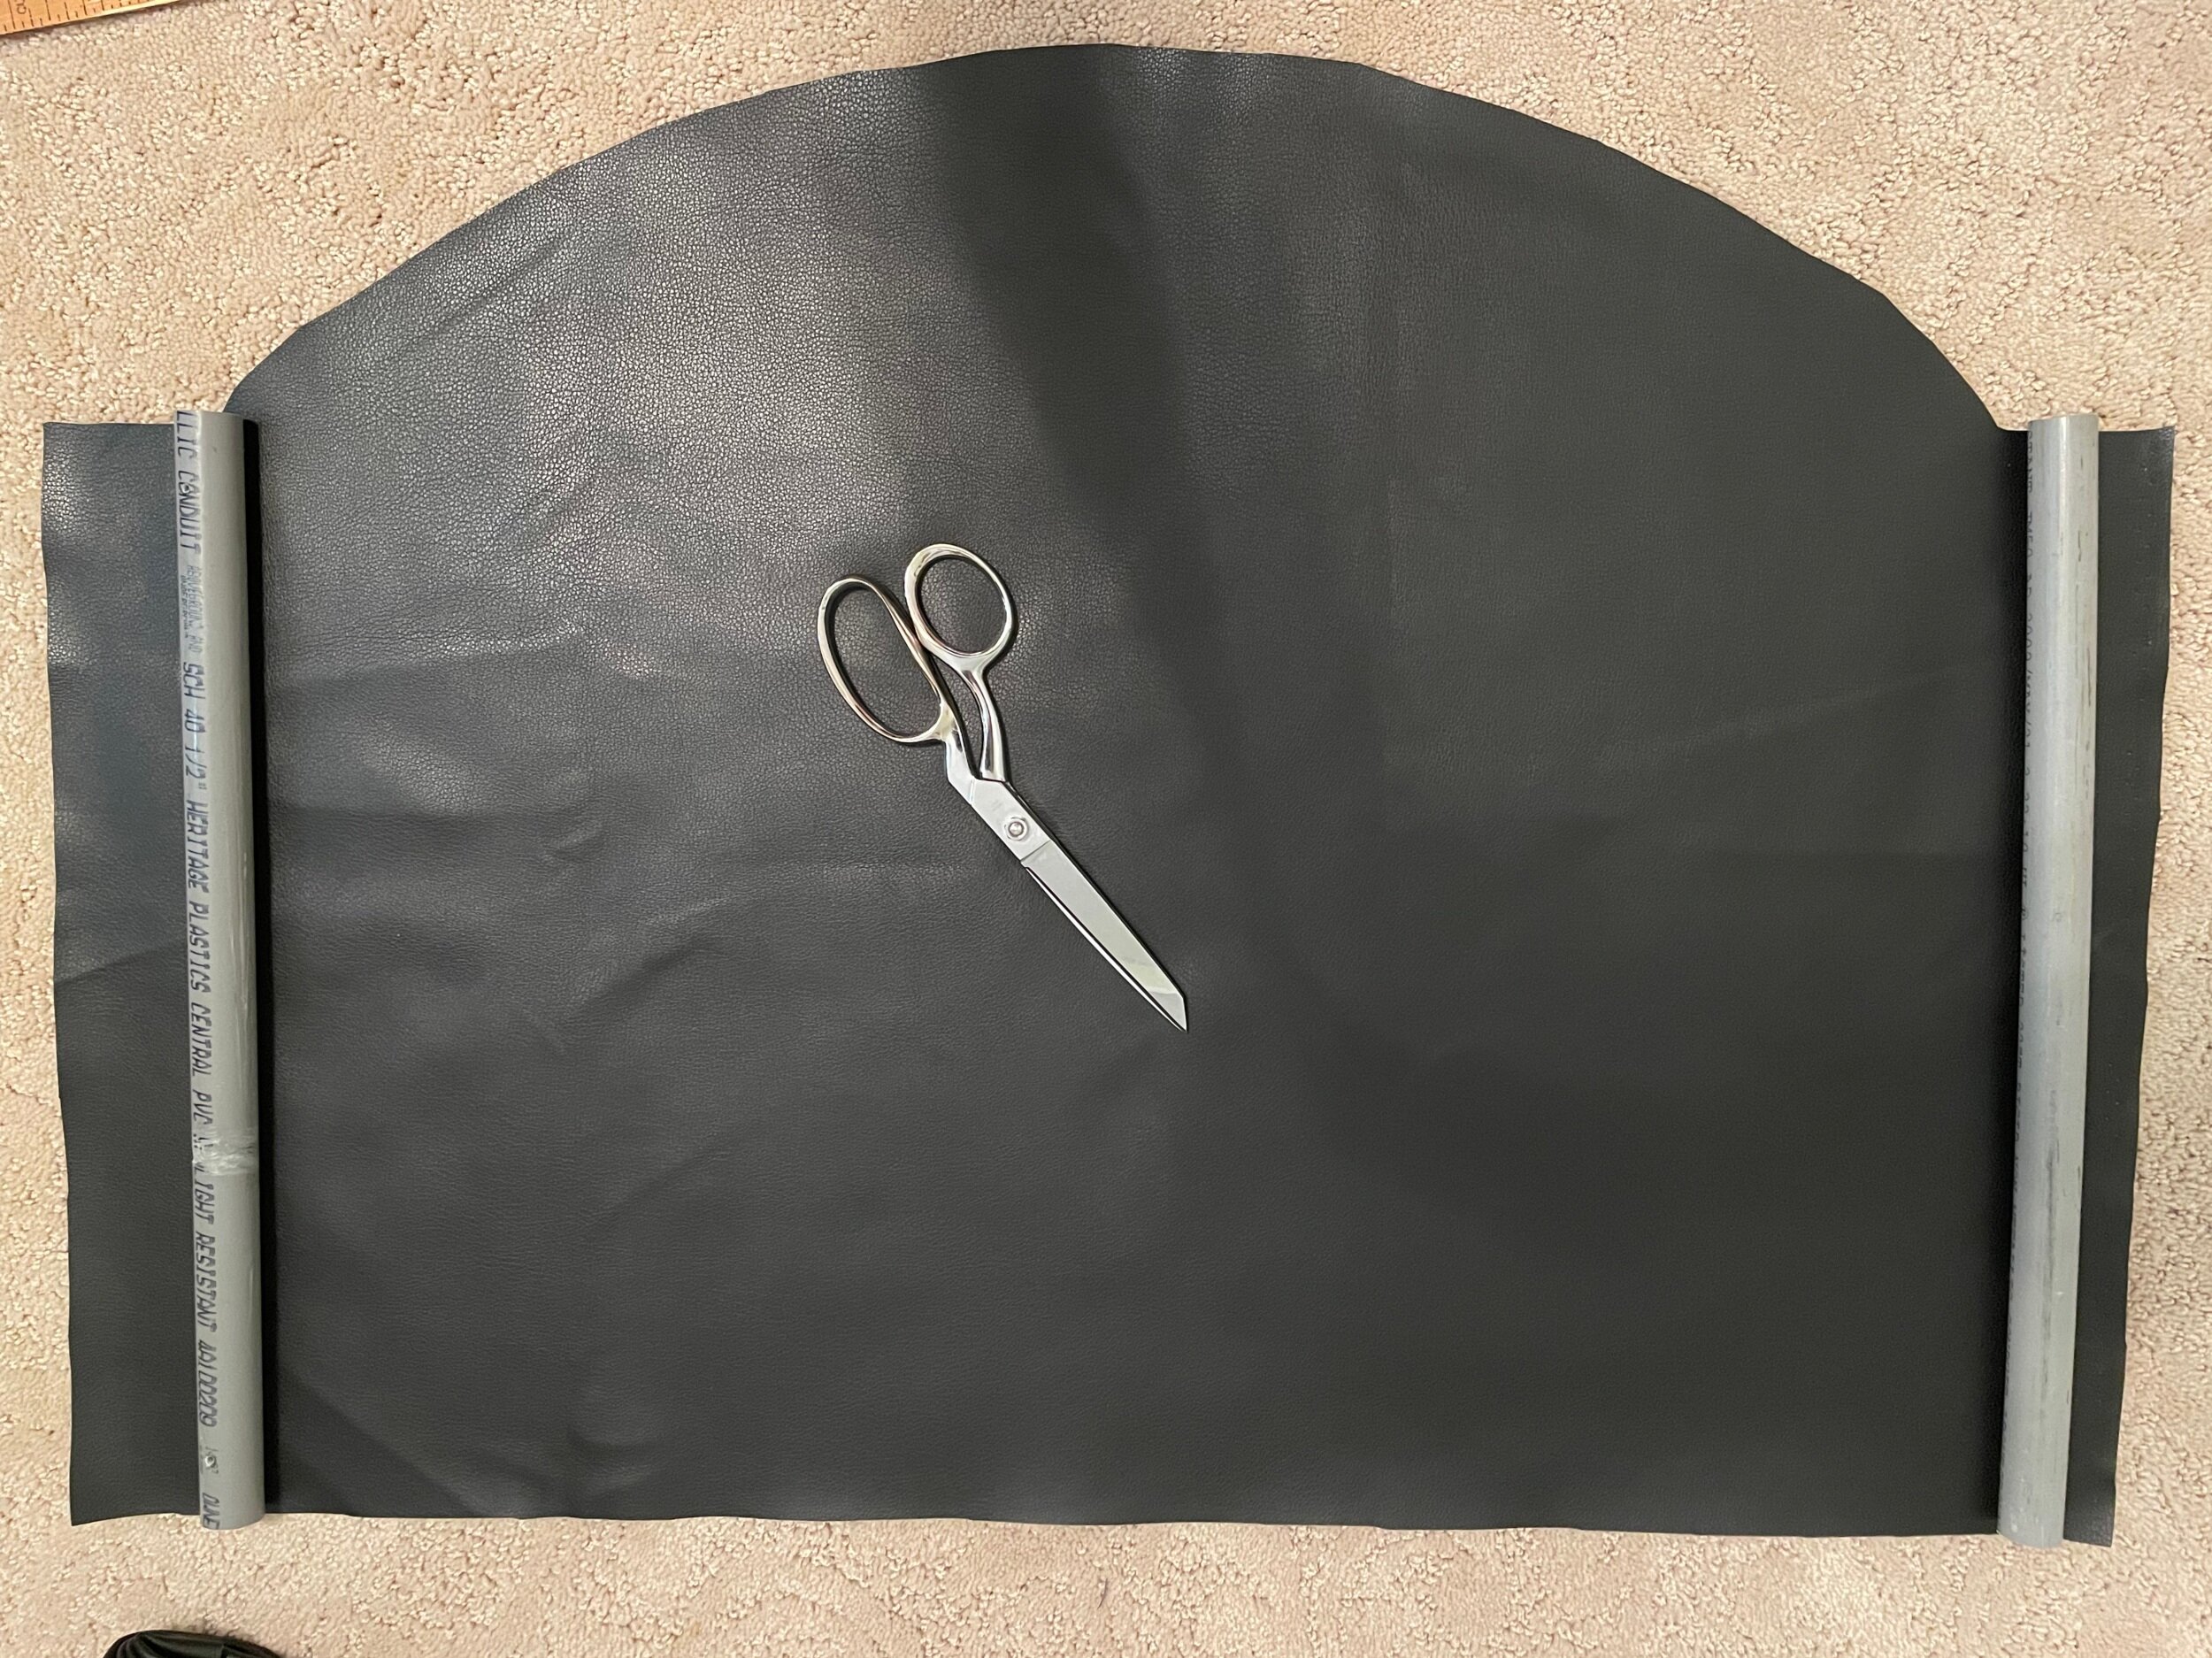
To start, cut your PVC pipe to 16”, and drill a small pilot hole for the cup hooks approximately one inch from the end of each piece.

Next, draw a 16 x 24” rectangle on the reverse of your fabric with at least four inches of extra fabric on all sides. Draw an arc on one of the long sides if desired. I did this by tying a string to a sharpie and placing the end in the middle of the opposite side of the rectangle. From there, adjust the string until it hits the corners of your rectangle on the downward strokes while drawing the arc.
After your optional arc is sketched out, add about three to four inches of extra rectangle on either side. These will be folded over the PVC pipe once sewn, so now is the time to double check yourself and make sure you have enough clearance. Once everything is sketched out and double checked for measurement mistakes, cut out your piece of fabric.


Now you’re ready to sew! I found that I could iron the vinyl without melting it by placing a damp cloth in between. This helped create a more even seam by folding over the middle section of the overhang. Pins will also help you out if you are using a machine.
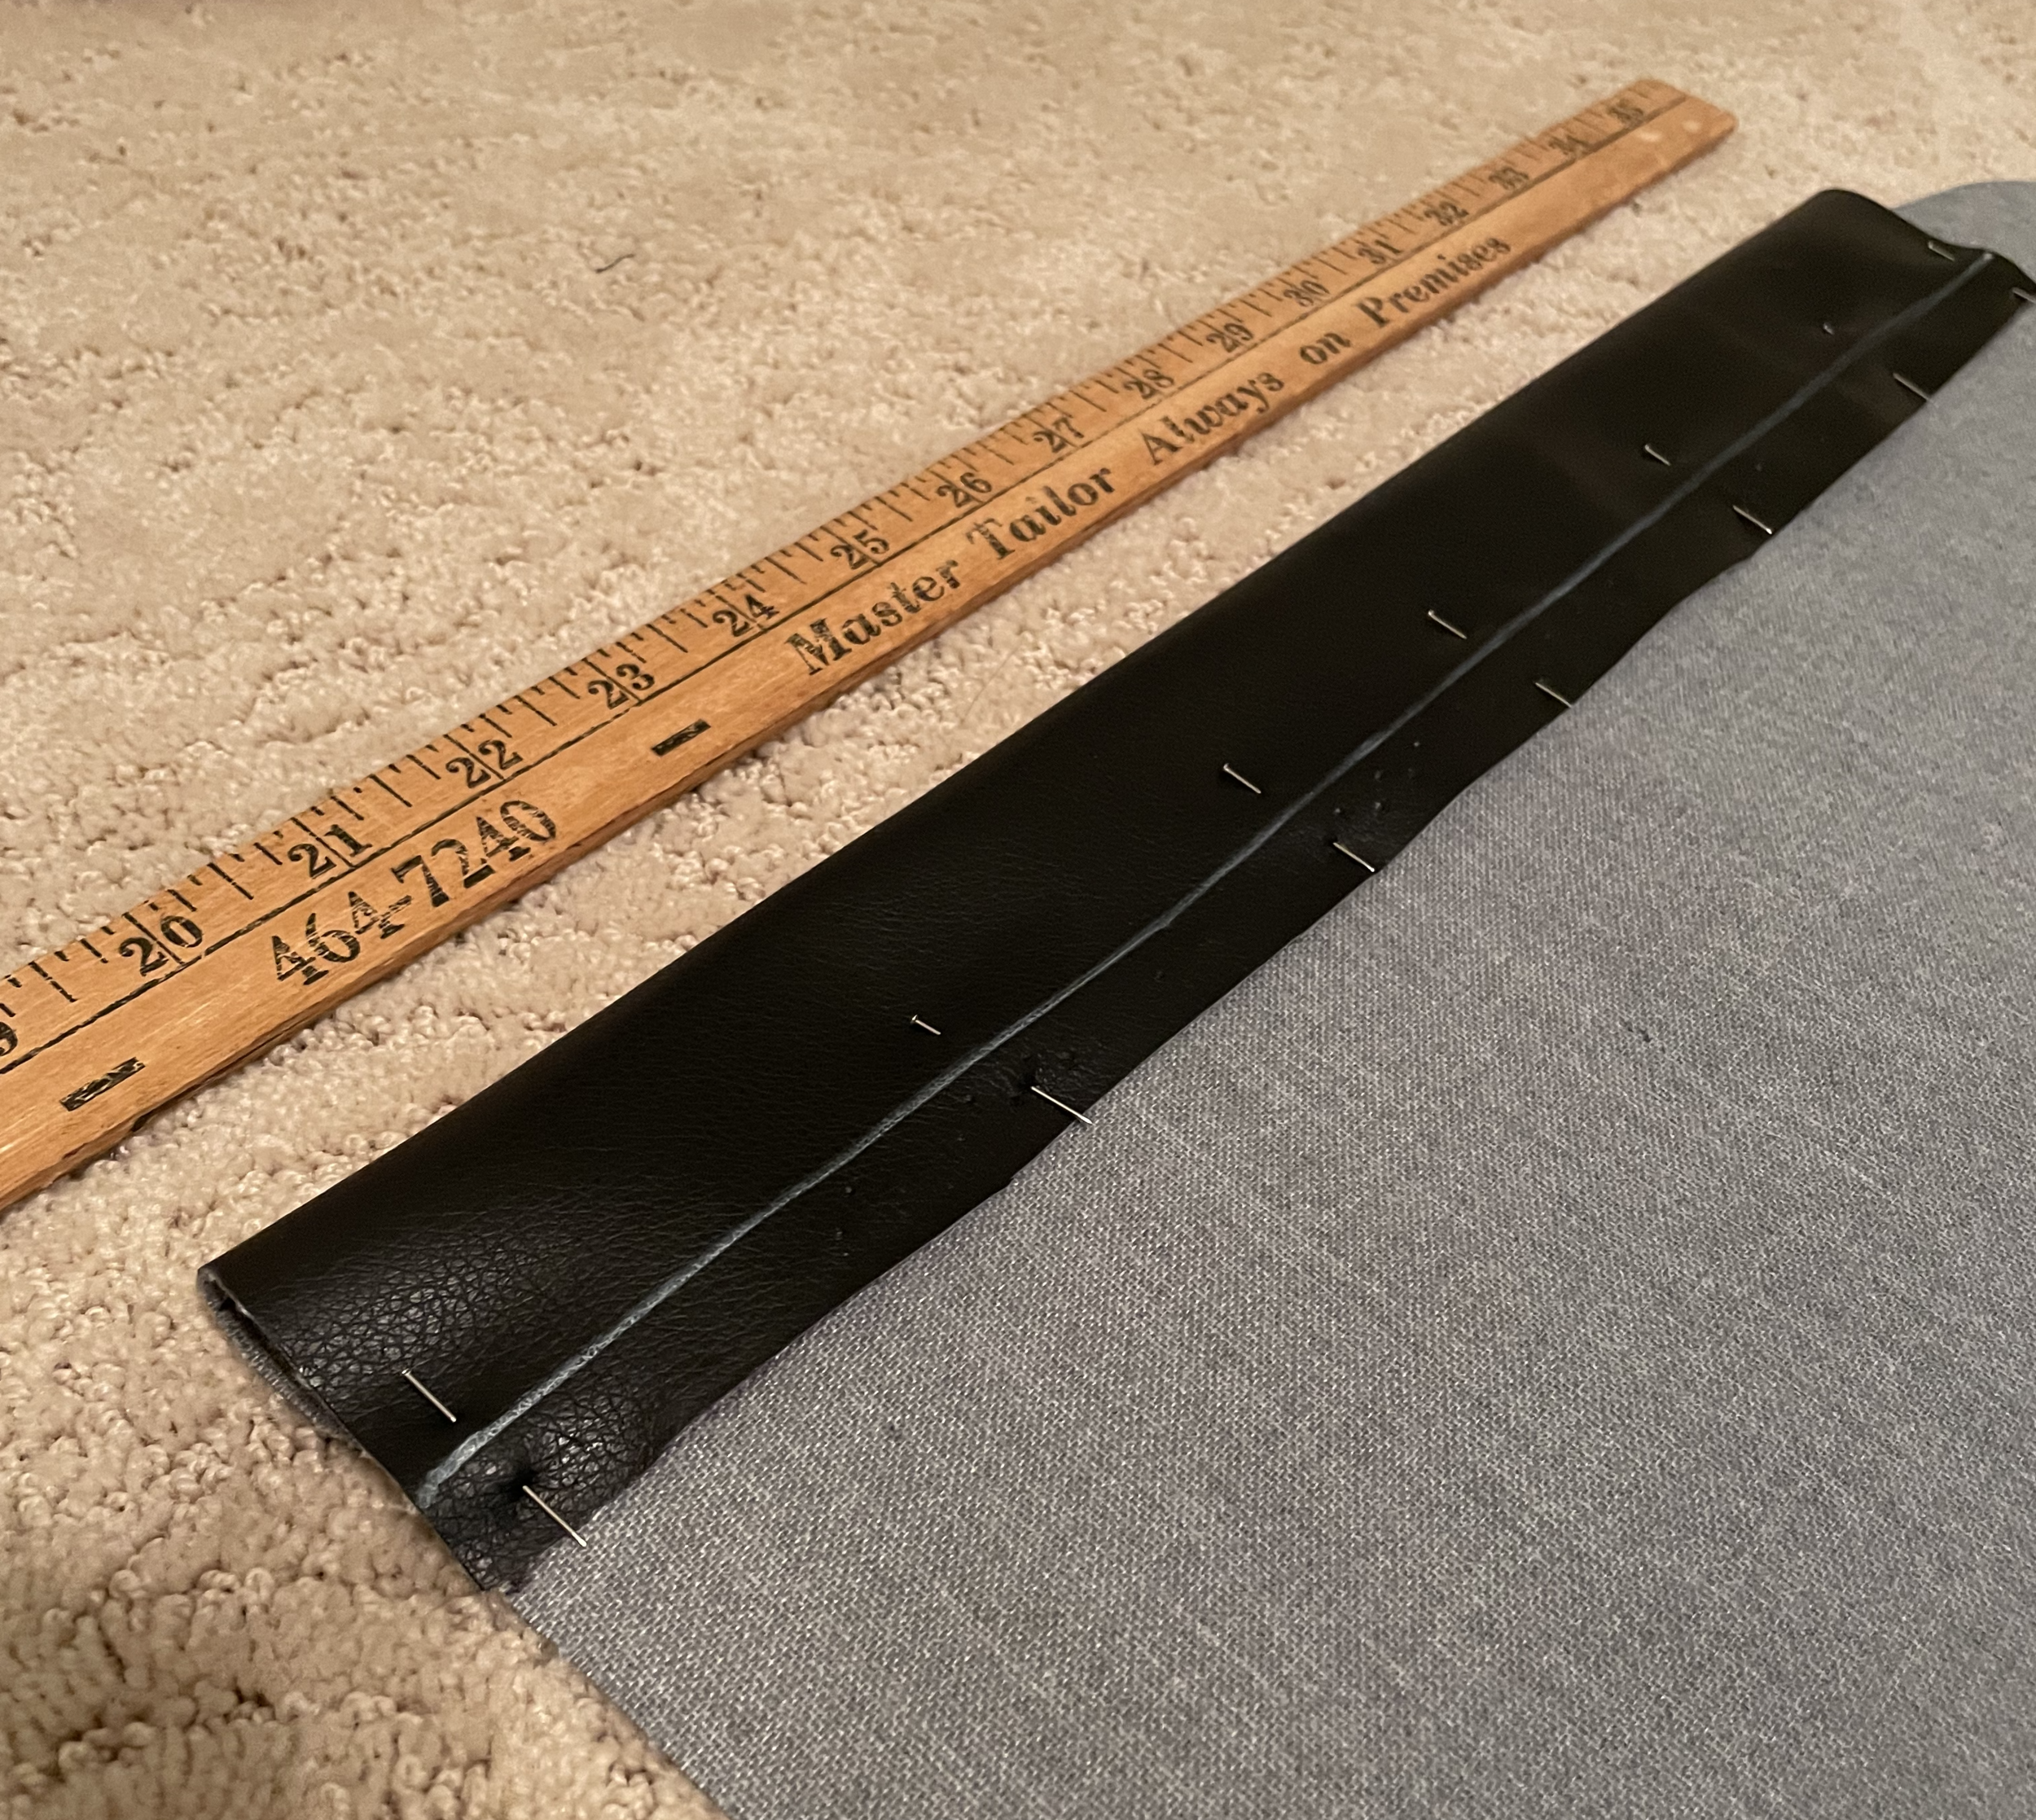
I marked my seam line as shown above and below, which helped keep me on track. I am admittedly an awful seamstress, so I wanted to make sure it would turn out.

Once your seams are complete, double check that your PVC pipes can easily slide through.

Inside each sleeve at the top, mark approximately where your pilot holes are and use your leather punch or similar tool to poke through the fabric. This will allow your cup hooks to screw into place.


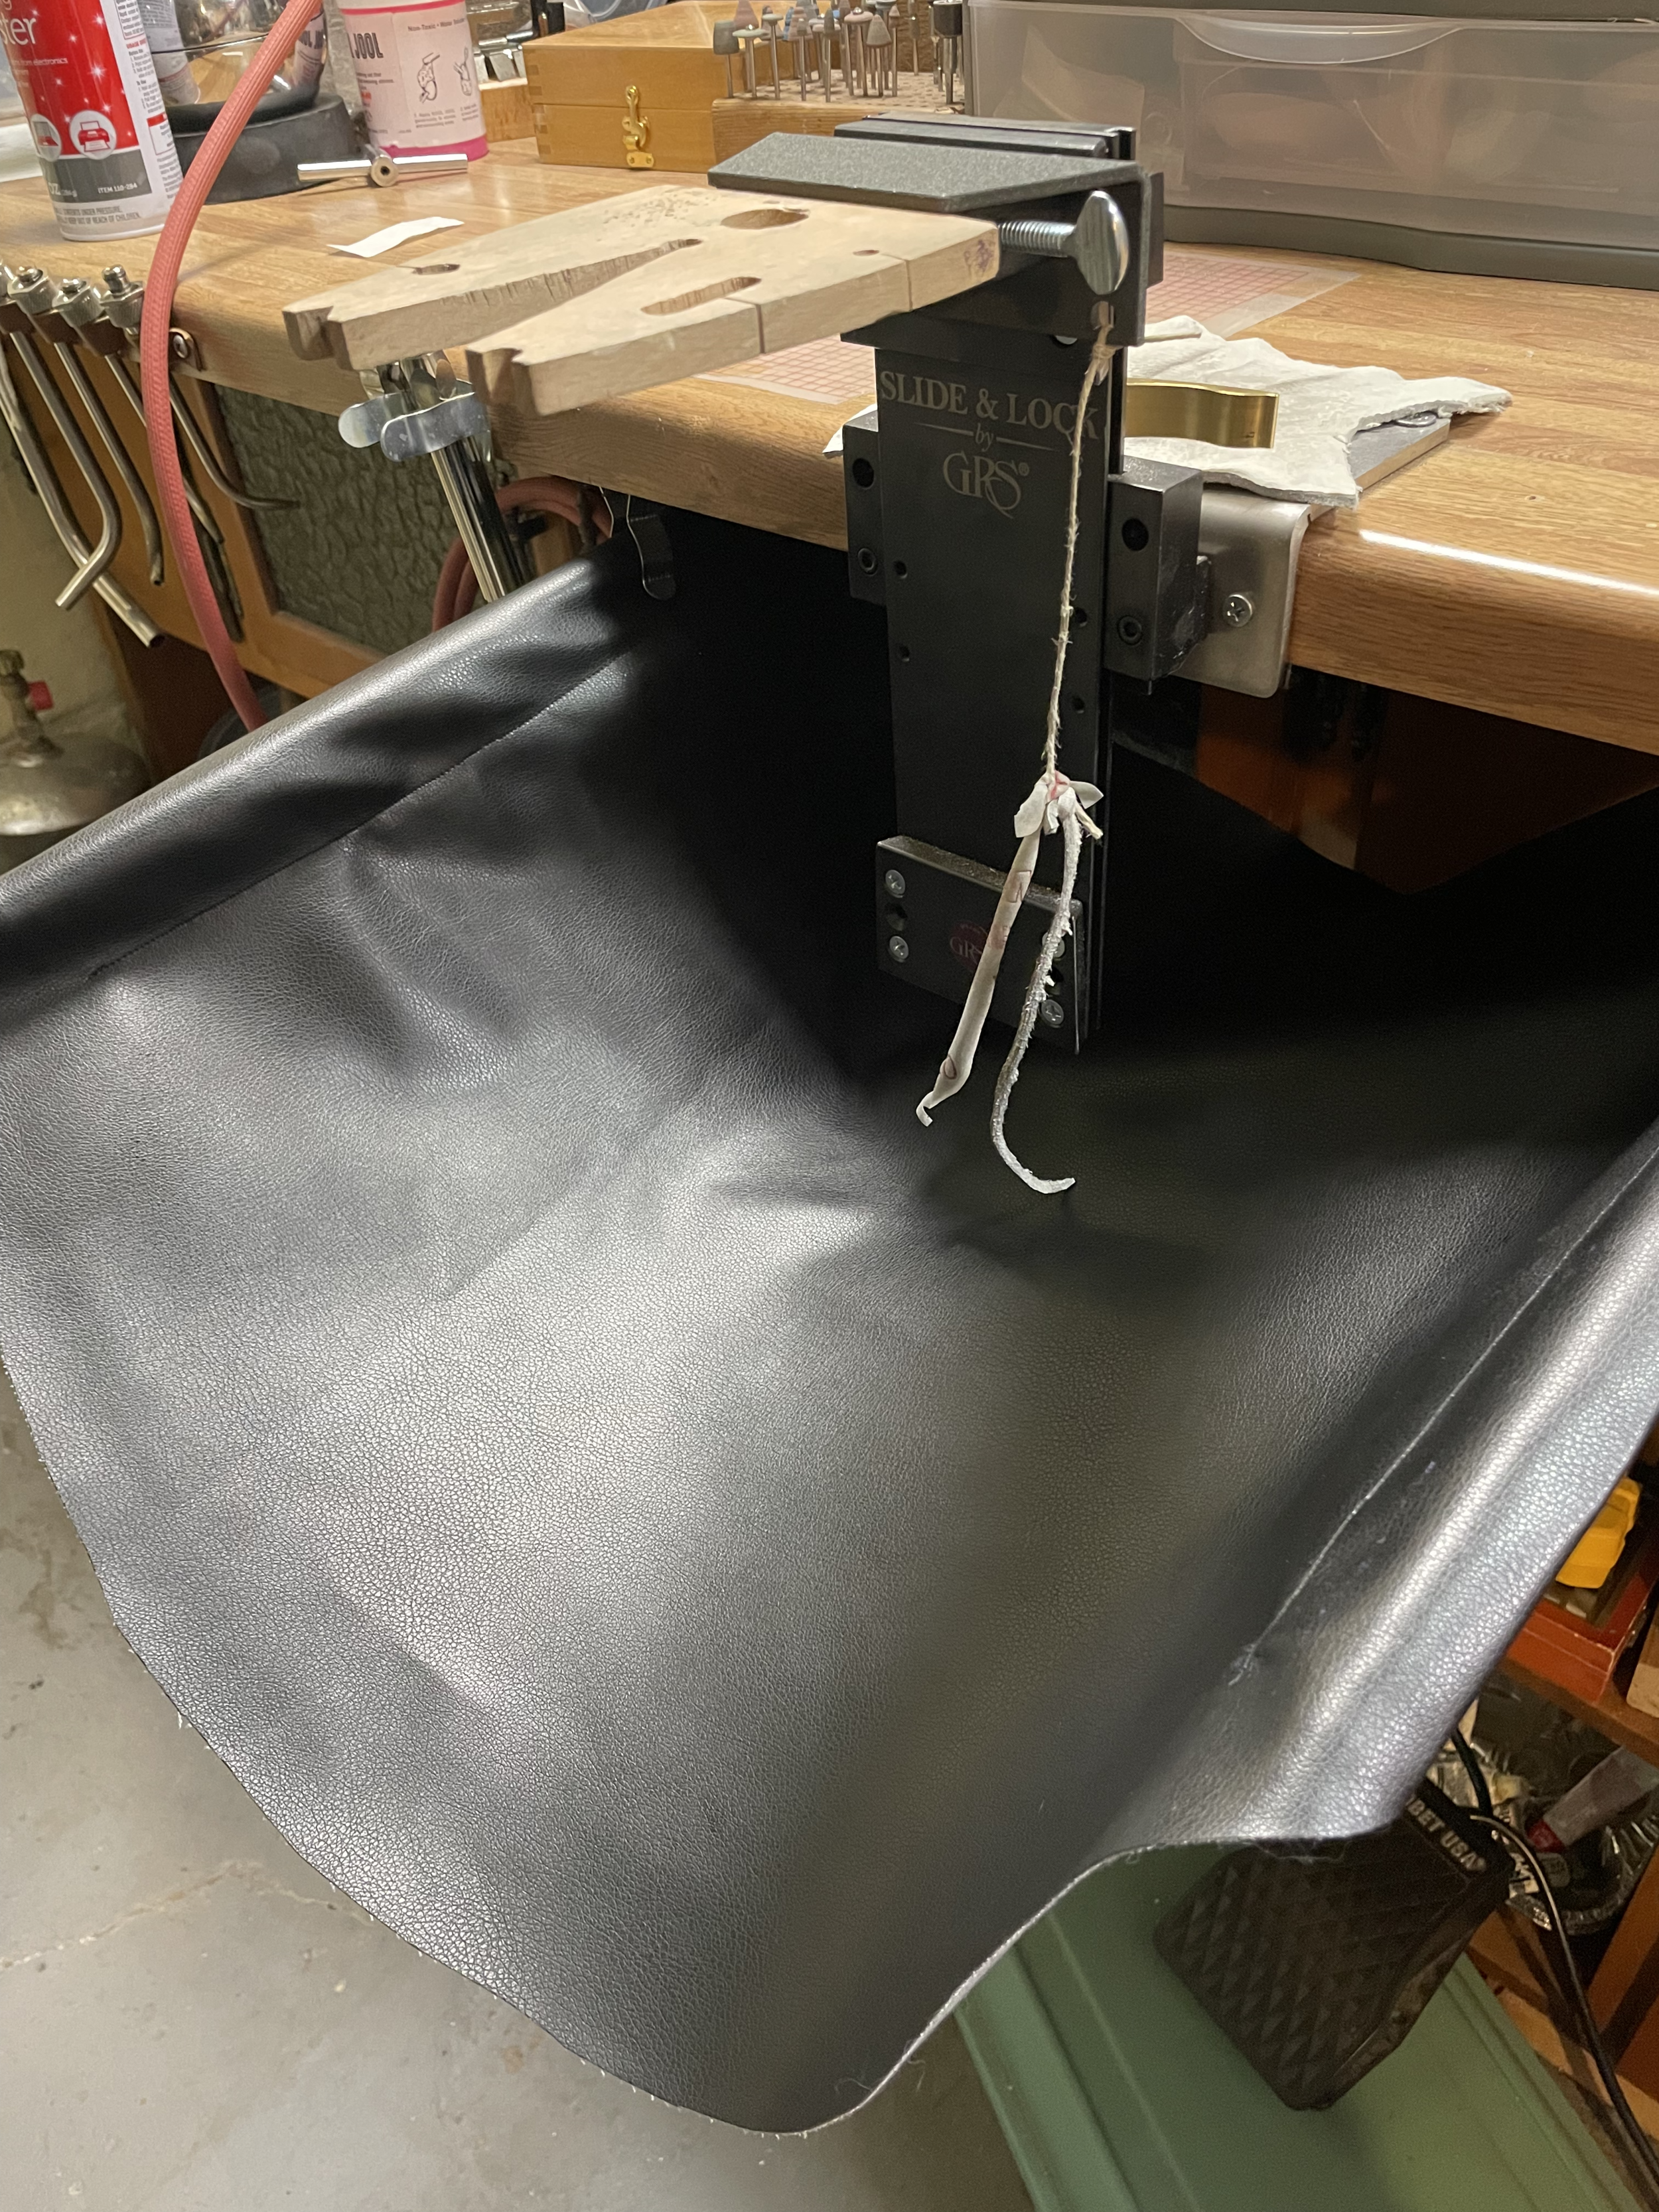
At this point, all that remains is to install your apron.
The cup hooks will be inserted toward the back of your over-hang with enough room for the ends of your PVC pipe to hinge up and down freely. This is where the cup hooks on the apron itself will attach.
As the apron swings up on its “hinges,” it will snap into the two spring clips. Position these accordingly closer to the end of your over-hang.

When everything is all set up and moves up and down easily, pinch the four cup hooks closed with pliers so that the apron does not unhook itself.
Congratulations! You now have a bench apron that collapses out of the way!

Feel free to ask me any questions on this project in the comments below. If you end up giving it a go, I would love to see your final product. Tag me on Instagram @shoplithic or send me an email at lithicdesign@gmail.com
- Kaley